Protectli Network Appliance
This guide is for Protectli Network Appliances
What you need
- A Protectli
- An HDMI monitor, USB keyboard, and USB mouse, to connect to the Protectli (Bluetooth won’t work here, hardwired recommended)
- A different computer running Windows, Mac, or Linux. This computer must have an Ethernet port or USB to Ethernet adapter if you want to use it to configure the Protectli after flashing the firmware
- A standard Ethernet patch cable (Cat5e or better)
- Two flash drives at least 2 GB in size OR one flash drive and a wired internet connection for the Protectli
Note
The port labeled ‘COM’ on the Protectli is a serial port, it is not an Ethernet port. You cannot use the COM port for network connectivity. Cover it with a piece of tape or pretend it doesn’t exist. Attempting to use this COM port will bring only frustration and dishonor to your network.
How to
- It’s time to startup the machine and install Althea. First we have to prepare the Ubuntu flash drive.
- Once you have unetbootin running select ubuntu from the dropdown on the top, select your drive and hit start. Once the flash drive is prepared as an Ubuntu live boot drive, you can use it over and over, you don’t need to repeat these steps in the future.
- Next we boot the live USB on the Protecli. Plug in the monitor, keyboard, and flash drive. Ensure the monitor is on and then power on the machine.
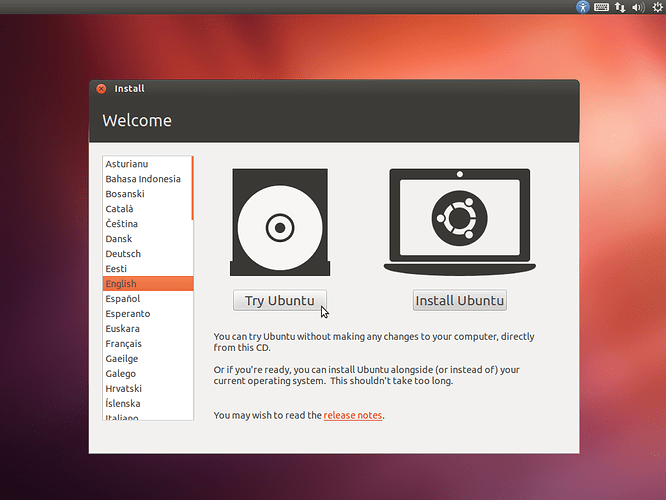
- Once you have booted from the flashdrive, wait until you see this screen. Then select “try ubuntu”
- You now have Ubuntu booted on your machine. There are two options from this spot. You can plug an Ethernet cable into the desktop, open Firefox and download the image from Github using the desktop itself. Or you can do the same thing on a different machine and copy it onto a separate flash drive.
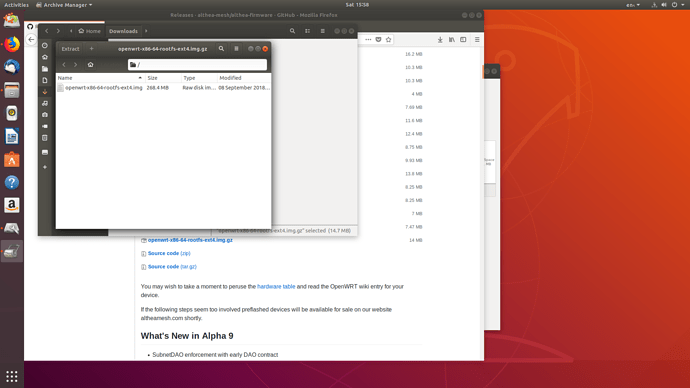
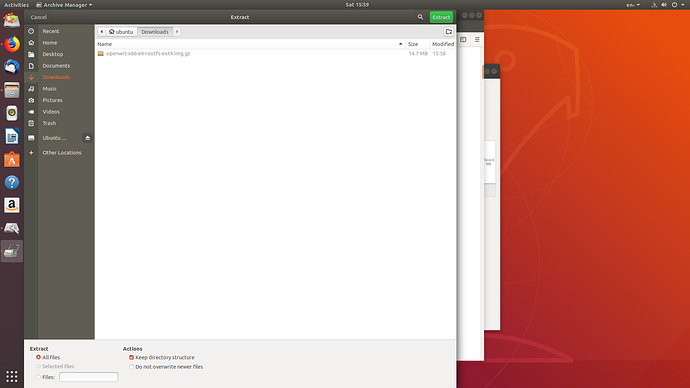
- Now that you have the Althea x86_64 image you need to extract it. Double clicking on the x86_64 image file will open the archive extractor. You can then press the “extract” button in the top left corner and then again on the upper right corner in the dialogue that appears.
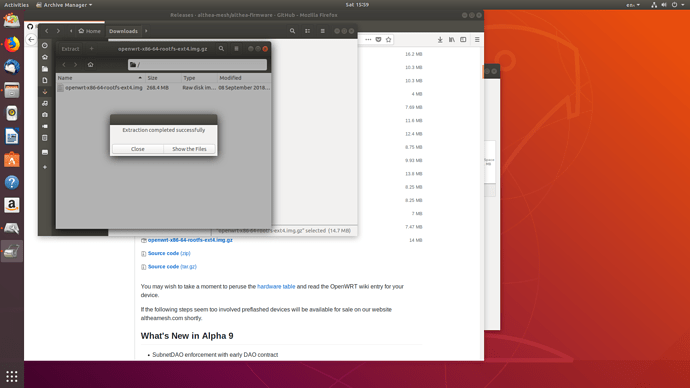
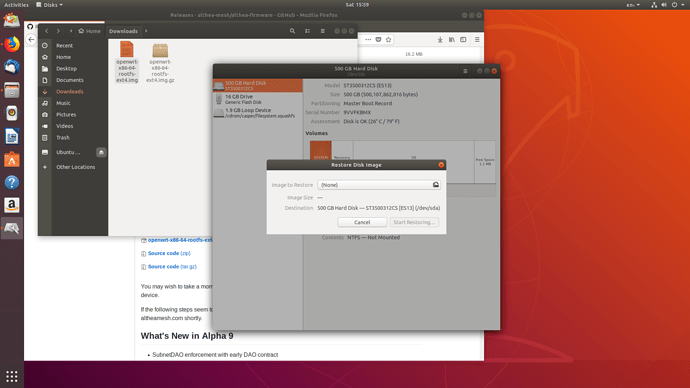
- Now you have a .img file instead of a .img.gz file. We’re going to use the Disks tool to write this image to the internal hard disk so that the machine boots into it every time. Click the “activities” button in the top left corner of the screen, search for “disks” then press enter.


- Select the entry labeled “SSD” whatever size the internal disk may be (typically identified as /dev/sda). Then click the button with three dots in the top right and select “restore disk image”. Click the “image to restore” button and select the file ending in openwrt-x86-64-generic-squashfs-combined.img
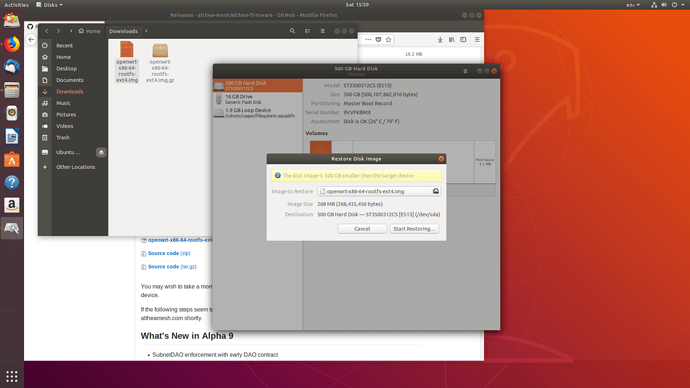
- Finally select “start restoring.” Select “yes” when it asks if you are sure.
- Congratulations, you’re done! Press the Protectli power button and choose “reboot.” You will see a screen prompting you to “remove the installation medium, then press Enter.” Remove all flash drives from the Protectli, then press “Enter.” After the reboot cycle completes, you should see the Althea router terminal come up (you may need to press “Enter” again to see it). You don’t need to use this terminal though.
- The first two ports will be ‘WAN’ and ‘LAN’ respectively, as labeled on the Protectli. All other ports (labeled Opt1, Opt2, etc) will be “mesh” device ports, intended to connect to other Althea routers or to your radio network hardware. If you plug your laptop into the “LAN” port (and make sure your laptop Ethernet port is set to DHCP, or a static IP in the 192.168.10.2 - 192.168.10.254 range) you can navigate to 192.168.10.1 which is the Althea router dashboard. From there you can set up your Althea router and make links into the network.